Image Resizer
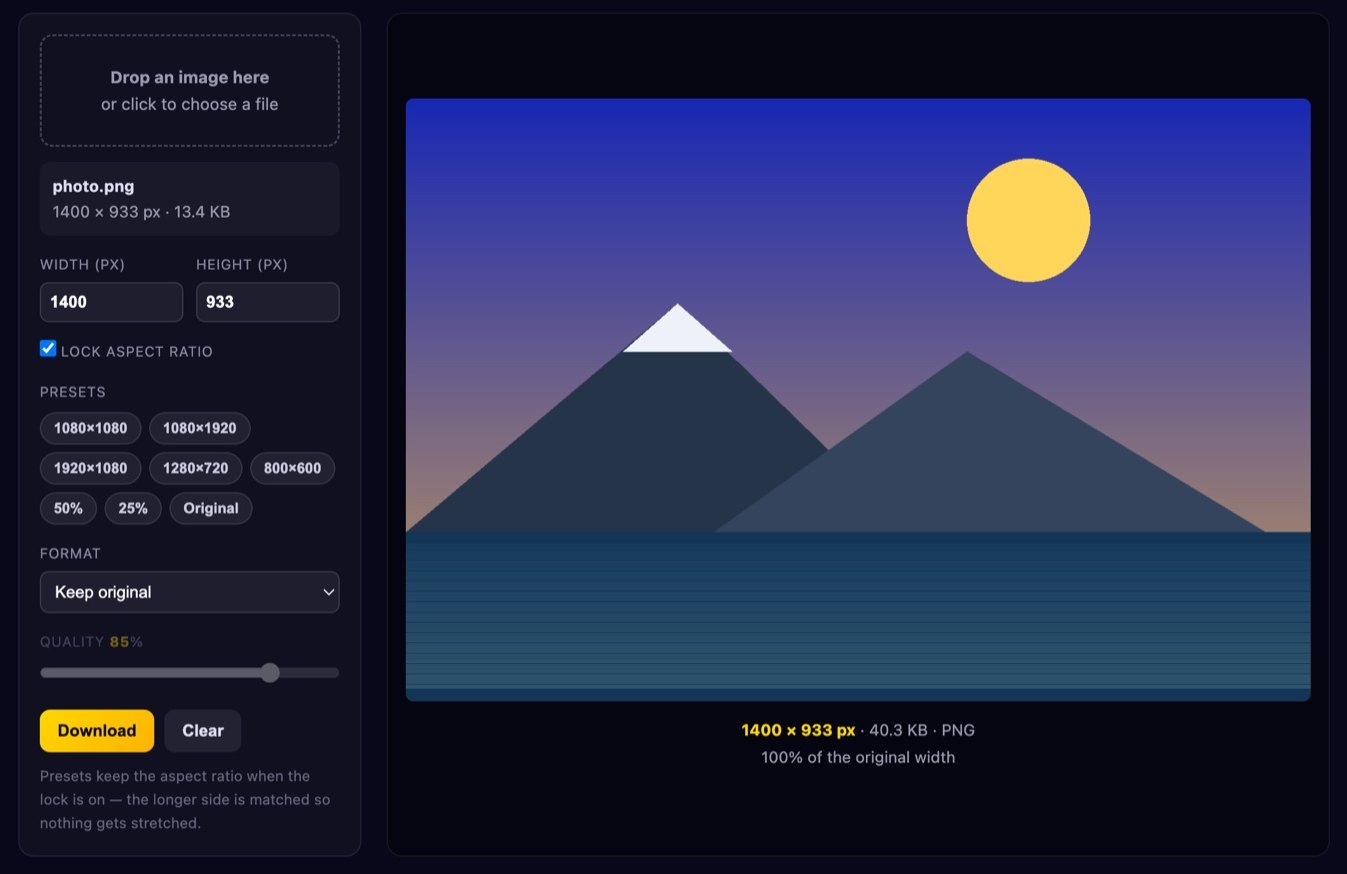
Resize a photo to exact pixel dimensions. Type a width, keep the aspect ratio locked, or pick a preset for Instagram, a Reel, a YouTube thumbnail or a wallpaper. High-quality stepped downscaling keeps edges sharp, and you can export as JPEG, PNG or WebP. Everything runs on your device — nothing is uploaded.
or click to choose a file
Presets keep the aspect ratio when the lock is on — the longer side is matched so nothing gets stretched.
How to resize an image
- Add your image. Drag a file onto the box or click it to browse. JPEG, PNG, WebP, GIF and most other formats your browser can display will work. The original dimensions and file size appear straight away.
- Set the size. Type a width or a height. With Lock aspect ratio switched on, the other field follows automatically so the picture never looks squashed.
- Or use a preset. The buttons cover the sizes people actually need — a square post, a vertical story, full HD, a thumbnail — plus 50% and 25% shortcuts for quickly halving a big photo.
- Choose a format and quality. Keep the original format, or switch to JPEG, PNG or WebP. The quality slider applies to JPEG and WebP; PNG is always lossless.
- Check the preview, then download. The result and its new file size update live. The download keeps a sensible name, like
photo-1080x1080.jpg.
Pixels, aspect ratio and why images look soft
A digital image is a grid of pixels. “1920 × 1080” means 1920 columns and 1080 rows — a little over two million individual colour samples. The aspect ratio is simply the relationship between those two numbers: 1920 ÷ 1080 is 16:9, 1080 × 1080 is 1:1, and 1080 × 1920 is 9:16. If you change width and height independently you change that ratio, and faces get stretched or squashed. That is why the lock is on by default.
Making an image smaller is mathematically comfortable: you have more information than you need, and the job is to average it down sensibly. Making an image larger is not. Interpolation — bilinear, bicubic, or whatever your browser uses — can only guess the colour of the new pixels from the ones around them. It cannot recover detail that was never captured. Blowing a 400 px photo up to 1600 px gives you a 1600 px file that still contains 400 px worth of real detail, just blurrier. Always start from the largest original you have.
Downscaling has its own trap. If you take a 4000 px-wide photo and squeeze it to 400 px in a single step, the resizer samples a thin scattering of source pixels and throws the rest away. Fine textures — brickwork, hair, text, fabric patterns — turn into shimmering noise, an artefact called aliasing. The fix is stepped downscaling: halve the image repeatedly (4000 → 2000 → 1000 → 500) until you are within a factor of two of the target, then do the final small step. Each halve averages every source pixel into the result, so nothing is silently discarded, and the finished image looks noticeably crisper. This tool does that automatically, with the browser's high-quality smoothing enabled on every pass.
Which size should I use?
- Instagram feed (square) — 1080 × 1080. The safe default for a grid post. Portrait 4:5 (1080 × 1350) takes up more screen and usually performs better.
- Stories, Reels, TikTok, YouTube Shorts — 1080 × 1920. Full-screen 9:16 vertical. Keep important content away from the top and bottom ~15%, where the interface sits.
- YouTube thumbnail — 1280 × 720. 16:9, and it must stay under 2 MB. Remember it is often viewed at a fraction of that size, so big shapes and few words win.
- Desktop wallpaper — 1920 × 1080 for a standard monitor, 2560 × 1440 or 3840 × 2160 for higher-resolution displays.
- Email and web pages — roughly 800–1200 px wide. Almost nothing on a page needs more. A 1200 px JPEG at 80% quality is typically 150–300 KB; the 6000 px original straight off a camera can be 8 MB and will make the page crawl.
- Avatars and profile pictures — 400 × 400 is plenty; most platforms display them far smaller and re-compress anyway.
JPEG, PNG or WebP?
JPEG is built for photographs. It discards detail your eye is bad at noticing, which makes photos dramatically smaller, and at 75–85% quality the loss is usually invisible. It cannot store transparency, and it handles hard edges badly — text and flat logos pick up muddy halos. Every re-save loses a little more, so avoid editing and re-saving the same JPEG repeatedly.
PNG is lossless and supports an alpha channel, so it is the right choice for screenshots, diagrams, icons, logos and anything that needs a transparent background. On flat-colour graphics it is often smaller than JPEG as well as cleaner. On a detailed photograph it is usually several times larger, so it is the wrong tool there.
WebP is the modern compromise: it does lossy compression like JPEG but typically 25–35% smaller at comparable quality, and it also supports transparency and animation. Every current browser reads it, and it is excellent for websites. The remaining catch is outside the browser — some older desktop software, printers and a few social platforms still prefer a JPEG or PNG, so keep one of those around if the file is going somewhere unpredictable.
Note that changing the format here does not change the pixels: converting a JPEG to PNG cannot restore detail the original JPEG already threw away, it only stops any further loss.
Is my image uploaded?
No. Your file is read straight from disk by your browser, drawn onto an HTML5 Canvas and re-encoded locally. There is no server call and no storage — the image never leaves your device, and closing the tab discards everything. That also means the tool works offline once the page has loaded, and there is no queue or file-size limit beyond what your own device can handle. Details are in our Privacy Policy.
FAQ
Can I make a small image bigger without losing quality?
Not really. Upscaling adds pixels but cannot add detail, so the result is a larger, softer version of the same picture. Modest enlargement — up to about 150% — usually looks acceptable; beyond that it becomes obvious. If you need a big version, go back to the original file at full resolution.
Why is my resized file bigger than the original?
Usually a format change. Saving a compressed JPEG as PNG can multiply the size, because PNG stores every pixel losslessly, including the JPEG's compression artefacts. Setting the quality slider to 100% has a similar effect. Switch back to JPEG or WebP around 80% and the file will shrink.
Does resizing change the DPI?
DPI is only a printing instruction stored in the file's metadata; it does not affect what you see on screen. What matters for print is the pixel count — a 3000 px-wide image prints at 10 inches wide at 300 DPI. Resize for the pixel dimensions you need and set the DPI in your print software.
What happens to EXIF data and transparency?
Re-encoding through the canvas drops EXIF metadata such as camera model and GPS coordinates, which is good for privacy but means orientation tags are not carried over. Transparency is preserved for PNG and WebP output; if you export to JPEG the transparent areas are filled with white, since JPEG has no alpha channel.
Is there a file size or count limit?
There is no imposed limit, but very large images (roughly 50 megapixels and up) can exhaust memory on phones and older machines. The tool handles one image at a time by design, which keeps it fast and predictable.
Related tools
Need a smaller file rather than smaller dimensions? Use the Image Compressor. Just changing file type? The Image Converter handles JPEG, PNG and WebP. Everything else lives in our free tools directory.