Image Converter
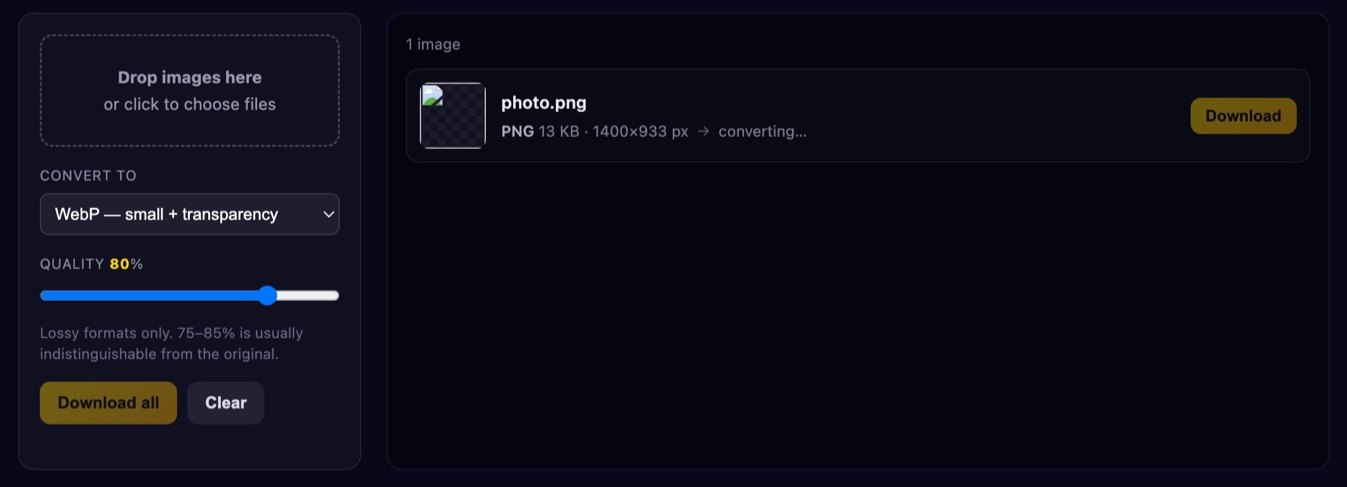
Convert images between PNG, JPG and WebP — one at a time or a whole batch. Set the quality, choose a background colour when transparency has to go, compare the before and after file size, then download. Everything runs on your device; no file is ever uploaded.
or click to choose files
How to convert an image
- Add your images. Drag one or several files onto the box, or click to pick them. Each file's real format and pixel dimensions are read from the image itself, not the extension.
- Pick the target format — JPG, PNG or WebP. It applies to every file in the list at once.
- Set the quality for JPG or WebP. The slider is hidden for PNG, which is lossless and has no quality dial.
- Choose a background if you are converting a transparent image to JPG. A warning and a colour picker (default white) appear automatically.
- Check the sizes. Every row shows original format and size next to the converted result and the percentage change.
- Download one file at a time, or hit “Download all”.
PNG vs JPG vs WebP — which should you pick?
Each format was designed for a different kind of picture, and picking the wrong one is the most common reason an image ends up ten times bigger than it needs to be.
| Format | Compression | Transparency | Best for |
|---|---|---|---|
| PNG | Lossless | Yes (8-bit alpha) | Logos, icons, screenshots, flat graphics, anything with sharp edges or text |
| JPG | Lossy | No | Photographs, and anywhere maximum compatibility matters |
| WebP | Lossy or lossless | Yes | Web images in general — photos and graphics alike |
PNG stores every pixel exactly as it was — save and re-save a hundred times and it stays identical. That fidelity costs space: a photograph as PNG is often five to ten times larger than the same photo as a good JPG. Where PNG wins is flat colour and hard edges — a spreadsheet screenshot, a logo with crisp type, a UI mockup. Those compress beautifully in PNG and look smeared and speckled in JPG.
JPG throws away the detail your eye is least likely to miss, mostly fine colour variation. On a face or a landscape, quality 80 is typically indistinguishable from the original at normal viewing size for a fraction of the bytes. Two real limitations: no transparency at all, and visible ringing around high-contrast edges — which is exactly what text and logos are made of. In exchange, everything on earth opens a JPG.
WebP is the modern middle ground: roughly 25–35% smaller than JPG at comparable quality, and unlike JPG it supports alpha transparency, so it can replace both PNG and JPG on a website. Every current major browser — Chrome, Edge, Firefox, Safari — decodes it. Outside the browser be a little more careful: some older desktop software, print workflows and a few email clients still want a JPG or PNG, so keep the original.
Rule of thumb: photo for the web → WebP; photo you hand to someone else → JPG; transparency, text or hard edges → PNG.
Converting a transparent PNG to JPG
This is where people get surprised. PNG marks each pixel as partly or fully see-through with an alpha channel. JPG has no alpha channel — there is nowhere in the file to record “this pixel is transparent” — so every transparent pixel must become some opaque colour. Programs choose differently, which is why a logo exported to JPG sometimes arrives with an ugly black box behind it: the transparent area was left at the canvas default. This converter makes the choice explicit and shows a colour picker, defaulting to white, whenever it detects transparency with JPG selected.
Pick the background to match wherever the image will actually sit. White document or web page? White. A dark slide? Choose that dark colour — white there gives you a glaring rectangle around your logo. If the image has soft edges, a drop shadow or anti-aliased type, get close to the final colour: those semi-transparent edge pixels are blended into whatever you pick and baked in permanently.
If you cannot know the final background — a logo partners will place anywhere — do not convert to JPG at all. Keep PNG, or use WebP, which keeps the alpha channel and is still far smaller.
Converting is not the same as compressing
Changing the container does not automatically shrink a file, and the wrong conversion inflates it. Take a 400 KB JPG photo and save it as PNG: PNG must reproduce every one of the JPG's compression artefacts losslessly, so the result routinely lands at 2–4 MB. No quality was gained — the detail JPG discarded is gone forever — and you paid megabytes for it.
The other trap is stacking lossy encodes. JPG → WebP → JPG at quality 70 compounds the damage at every hop: edges go mushy, flat skies develop blotches, and there is no way back. Convert from the highest-quality original you have, in one step.
If your goal is a smaller file rather than a different format, use our image compressor — it keeps the format and tunes the encoder. Often the biggest saving is not format but dimensions: a 4000 px photo shown in an 800 px slot wastes about 96% of its pixels. Shrink it first with the image resizer, then convert.
Is my image uploaded?
No. Your files are read with the browser's FileReader, drawn onto an HTML5 canvas and re-encoded by your own browser using canvas.toBlob(). There is no server call, no queue and no temporary copy anywhere — the tool keeps working if you disconnect from the internet after the page loads. Nothing to delete afterwards either; closing the tab discards everything. Details in our Privacy Policy.
FAQ
Can I convert HEIC photos from my iPhone?
Only if your browser decodes HEIC natively, and most do not. Safari on recent macOS and iOS does, so HEIC usually works there; Chrome, Firefox and Edge ship no HEIC decoder, so the file simply fails to load. The easy workaround is Settings → Camera → Formats → “Most Compatible” on the iPhone, which captures JPG instead. The same limit applies to RAW files (CR2, NEF, ARW) and to JPEG XL — this tool can only read what your browser can read.
Why did my file get bigger after converting?
Almost always because you converted a lossy image to a lossless one — JPG or WebP to PNG. It can also happen going to WebP from a JPG that was already heavily compressed: re-encoding a low-quality source at high quality faithfully preserves the artefacts and costs more bytes. Lower the quality slider, or keep the original.
Does converting reduce image quality?
Converting to PNG never loses anything. Converting to JPG or WebP re-encodes the pixels, which discards some detail — how much depends on the quality slider. Note that the loss happens on every lossy save, even at quality 100, so avoid repeated round trips. Dimensions are never changed by this tool: a 3000×2000 image comes out 3000×2000.
Is there a file size or count limit?
No artificial limit, but everything runs in your browser's memory, so huge batches or 50 megapixel scans can slow the tab down or exhaust memory on a phone — convert in smaller groups if that happens. One metadata note: because the image is redrawn onto a canvas, EXIF data such as camera model and GPS location is not carried over. Good for privacy, worth knowing if you rely on it.
Can I convert to GIF, SVG, ICO or PDF?
Not here. Browsers can only encode to PNG, JPG and WebP through the canvas API. SVG is a fundamentally different thing — vector instructions rather than a grid of pixels — so a photo cannot be meaningfully “converted” to it without a tracing step that changes the image completely.
Next steps: resize an image, compress it further, or browse all our free browser tools.