Space Defender
One ship, three lives, and forty enemy craft marching down a portrait screen. Shoot the formation apart, hide behind your bunkers while they last, and hold the bottom line for as many waves as you can.
▶ Play Space Defender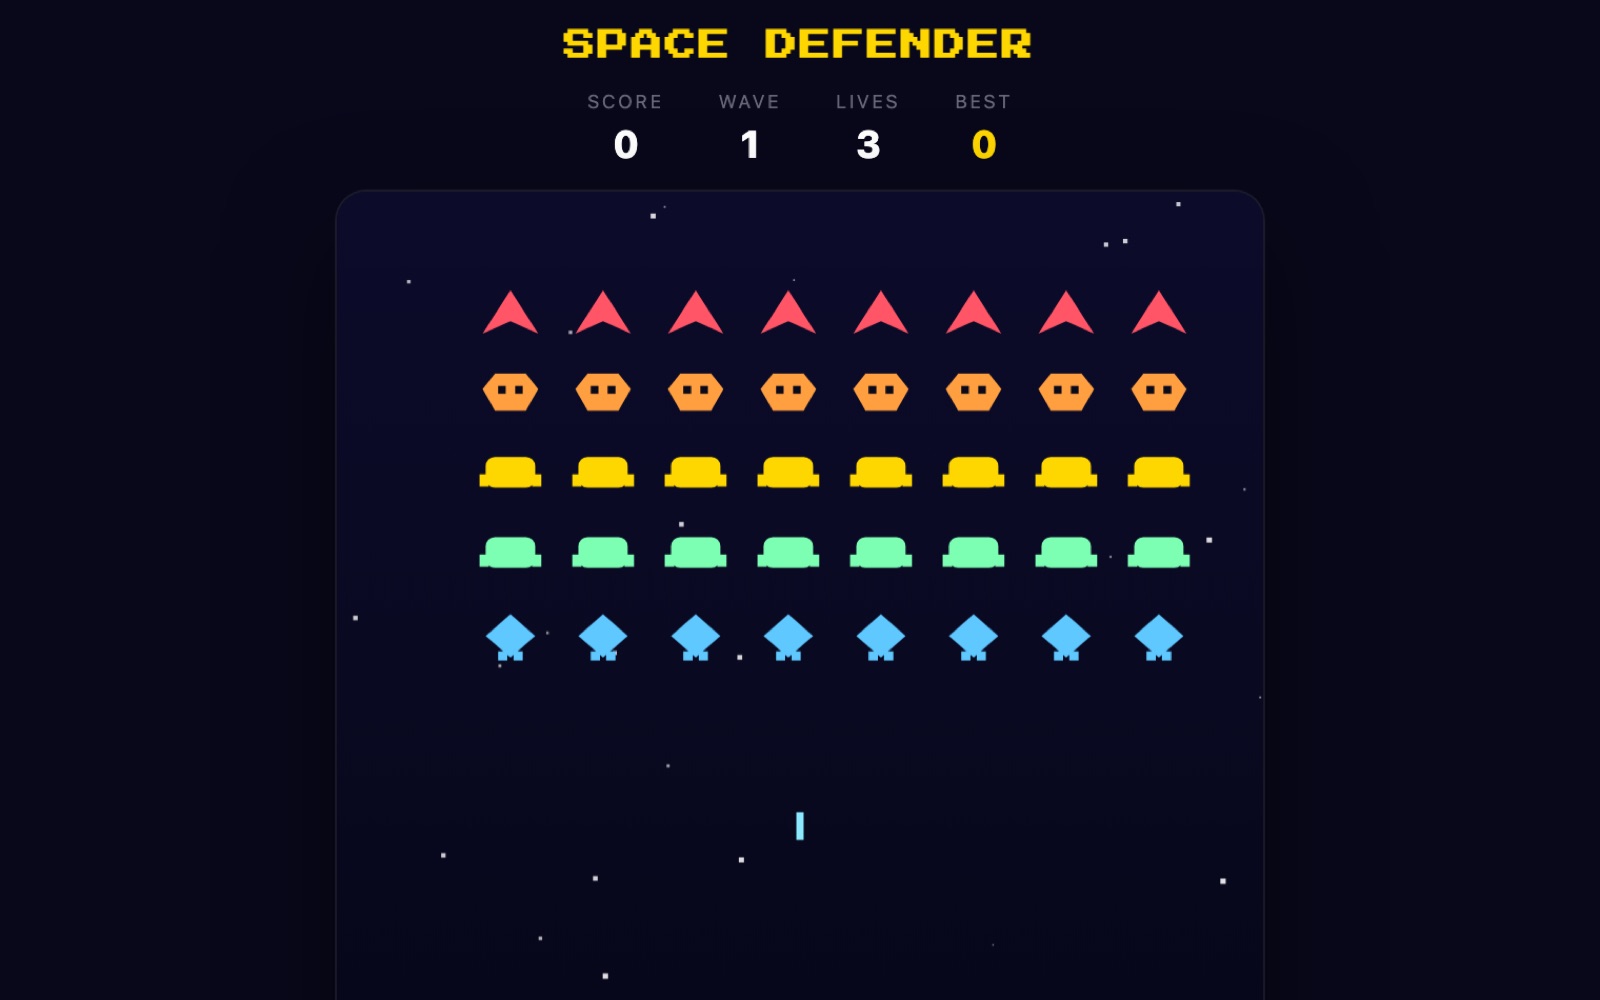
What is Space Defender?
Space Defender is an original twittyn arcade game in the tradition of classic fixed-shooter cabinets: your ship is locked to the bottom of the screen, moves only left and right, and fires straight up. Everything is drawn procedurally on an HTML5 canvas in a 3:4 portrait field, so it fits a phone screen as naturally as a desktop window — no downloads, no plugins, no account.
The opposition is a block of 40 craft, five rows of eight, sliding sideways as a single body. When the leftmost or rightmost surviving craft reaches the edge of the field, the whole formation reverses direction and drops down one step, permanently closing some of the gap between them and you. Underneath the formation sit four green shield bunkers — solid at the start, gradually hollowed out by every shot that touches them, yours included.
The pressure comes from a single rule: the formation gets faster the fewer craft are left in it. At full strength it crawls; with one survivor it is moving roughly three and a half times as quickly and reversing at the walls constantly. A run that feels comfortable for the first thirty enemies can end on the last two.
How to play
- Start the run. Press the Start button, or hit Space or Enter. Score, wave, lives and your saved best sit above the play area and update live.
- Move with the arrow keys or A/D. On desktop, hold Left/Right or A/D to slide the ship. Movement is held rather than tapped, and the ship is clamped a few pixels inside each wall so you can always park flush against the edge.
- Use the touch controls on mobile. Phones and tablets get a three-button pad below the board — left, FIRE, right. You can also drag your finger anywhere on the play area and the ship jumps to that horizontal position, which is far quicker than the arrows for crossing the screen.
- Fire with Space or the FIRE button. Shots are rate-limited to roughly one every third of a second, and holding the key down auto-fires at exactly that rate. There is no ammo limit, but there is no way to rush a second shot either, so a missed shot genuinely costs you time.
- Score by row. The top row is worth 40 points per craft, the second 30, the middle two 20 each, and the bottom row 10. The rows nearest you are the cheapest — and the ones firing at you.
- Watch the return fire. Only the lowest surviving craft in each column shoots, one bullet at a time chosen at random from those front-line candidates. Early on there can be as few as three enemy shots in the air at once; that ceiling rises with the wave number and tops out at six.
- Take cover behind the bunkers. The four shields absorb enemy fire, but each hit vaporises a block and often chips a neighbouring block too, so a bunker under sustained fire develops a hole quickly.
- Shoot the bonus craft. Every so often a pink craft crosses the very top of the screen, left to right or right to left. One hit is worth between 50 and 300 points — the value is rolled when it appears, so you never know which one you are shooting at.
- Survive on three lives. A hit costs one life and grants about 1.6 seconds of invulnerability, during which your ship flashes on and off. Use that window to reposition, because enemy bullets pass straight through you while it lasts. Lose all three, or let any craft reach your row, and the run ends.
Tips for a higher score
- Clear the outside columns first. The formation reverses when its outermost surviving craft touches a wall, so deleting the left and right columns means the block has less width and travels further before it turns — which means fewer step-downs and more time on the clock. It also opens a clean vertical lane on that side that you can fire up without obstruction.
- Do not shoot through your own shields. Your bullets erode the bunkers exactly like enemy bullets do. Firing from directly behind a shield punches your own escape hatch through it in a few seconds, and once that channel is open the enemy fire comes down it too. Step out to the side of a bunker to shoot, then step back behind it.
- Bank the bonus craft when the formation is thin. It appears on a long timer — roughly every 16 to 30 seconds — and at up to 300 points it can be worth more than half a wave of bottom-row craft. But chasing it while forty enemies are descending wastes cooldowns. The best moment is a thin formation, when you have spare shots and the pink craft is a big fraction of your remaining scoring.
- Plan the last few enemies before you get there. Speed scales with how much of the formation you have destroyed, so the final two or three craft move dramatically faster than the opening block and bounce between the walls almost continuously. Leave the survivors in a row you can track — a single column is much easier to lead than two stragglers at opposite ends.
- Lead your shots. Your bullet takes time to reach the upper rows, and the formation is moving the whole way. Aim at the space the craft is heading into, not where it currently is; the higher the row and the faster the formation, the bigger the lead.
- Spend your invulnerability. After a hit you have about a second and a half where nothing can touch you. That is the ideal time to cross open ground to the other side of the screen or to stand in front of a broken bunker and clear a troublesome column.
How the waves escalate
Clearing a formation advances the wave counter, wipes any enemy bullets still in flight, and spawns a fresh block of 40. Three things get harder. First, the new formation starts lower — each wave begins about 12 units further down the screen, up to a limit at wave seven, so you have less vertical room to work with from the opening second. Second, its base marching speed rises with each wave and keeps climbing until roughly wave eleven, before the "fewer enemies = faster" multiplier is even applied on top. Third, return fire intensifies: the gap between enemy shots shrinks as the wave number rises, the bullets themselves travel faster, and the cap on simultaneous enemy bullets climbs towards six.
Your shields, notably, are not rebuilt between waves. Whatever is left of the four bunkers when you clear a formation is what you carry into the next one, which makes shield discipline in wave one directly responsible for how survivable wave four feels.
Good to know: Your best score is saved locally in your browser under a single small key, so it is still there next time you visit — no login, no account, nothing else about your session stored. Clearing your browser data resets it. See our Privacy Policy for details.
Frequently asked questions
Do I need to install anything?
No. Space Defender runs entirely in your browser on desktop or mobile. There are no plugins, downloads or accounts, and it is free with no time limits.
Can I play it on a phone?
Yes. Touch devices automatically get a left / FIRE / right button pad below the board, and you can also drag a finger across the play area to steer the ship directly to that position.
Why can't I fire faster by mashing the key?
There is a deliberate cooldown of about a third of a second between shots. Holding the fire key gives you exactly the same rate as tapping it, so you can simply hold it down and concentrate on positioning.
Why did my own shot destroy part of my shield?
The bunkers are destructible from both directions. Player bullets and enemy bullets erode them identically, and each impact can take out an adjacent block as well, so shooting upward through your own cover will eventually open a hole in it.
How many points is the bonus craft worth?
Between 50 and 300, picked at random each time one appears. It flies across the top of the screen in either direction and takes a single hit to destroy.
What ends a run?
Losing all three lives to enemy fire, or letting any surviving craft in the formation descend as far as your ship's row. The second one is an instant loss regardless of how many lives you have left, which is why the step-downs at the walls matter so much.
Does it get faster during a wave?
Yes. The formation's speed is tied to how many craft are still alive, so it accelerates continuously as you destroy them and is at its fastest against the final survivor.